Digi 6310-DX Quick start
Thank you for purchasing the Digi 6310-DX.
Step 1: What's in the box
| Item | Description |
|---|---|
|
|
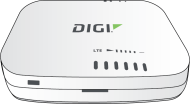
6310-DX unit |
|
|
Digi 1002-CM CORE modem |
|
|
CM unit anchor screws
|
|
1002-CM CORE modem cover plate:
1003-CM CORE modem cover plate:
|
CORE modem cover plate |
|
|
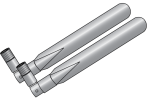
Cellular antennas (2) |
|
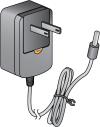
Power supply |
|
|
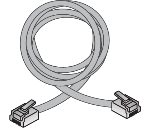
Ethernet cables:
|
|
|
Mounting bracket |

|
Screws (2) |

|
Drywall anchors (2) |


Optional remote mounting kit:
- Temporary battery pack
- Passive power over Ethernet (PoE) injector cable
- Rail clips
- Zip ties
Step 2: Connect
- Insert your activated SIMs provided by your cellular carrier into the Digi 1002-CM CORE modem.
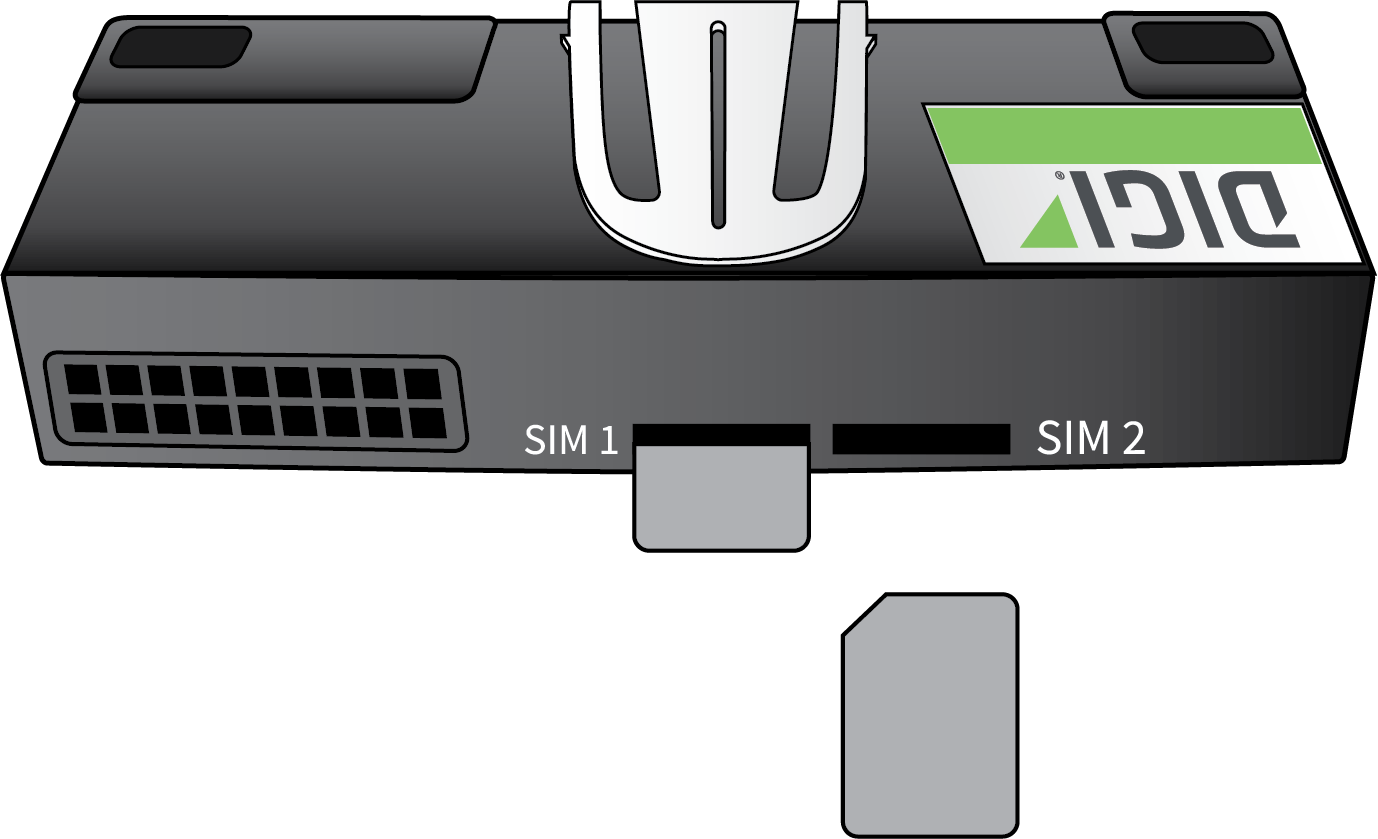
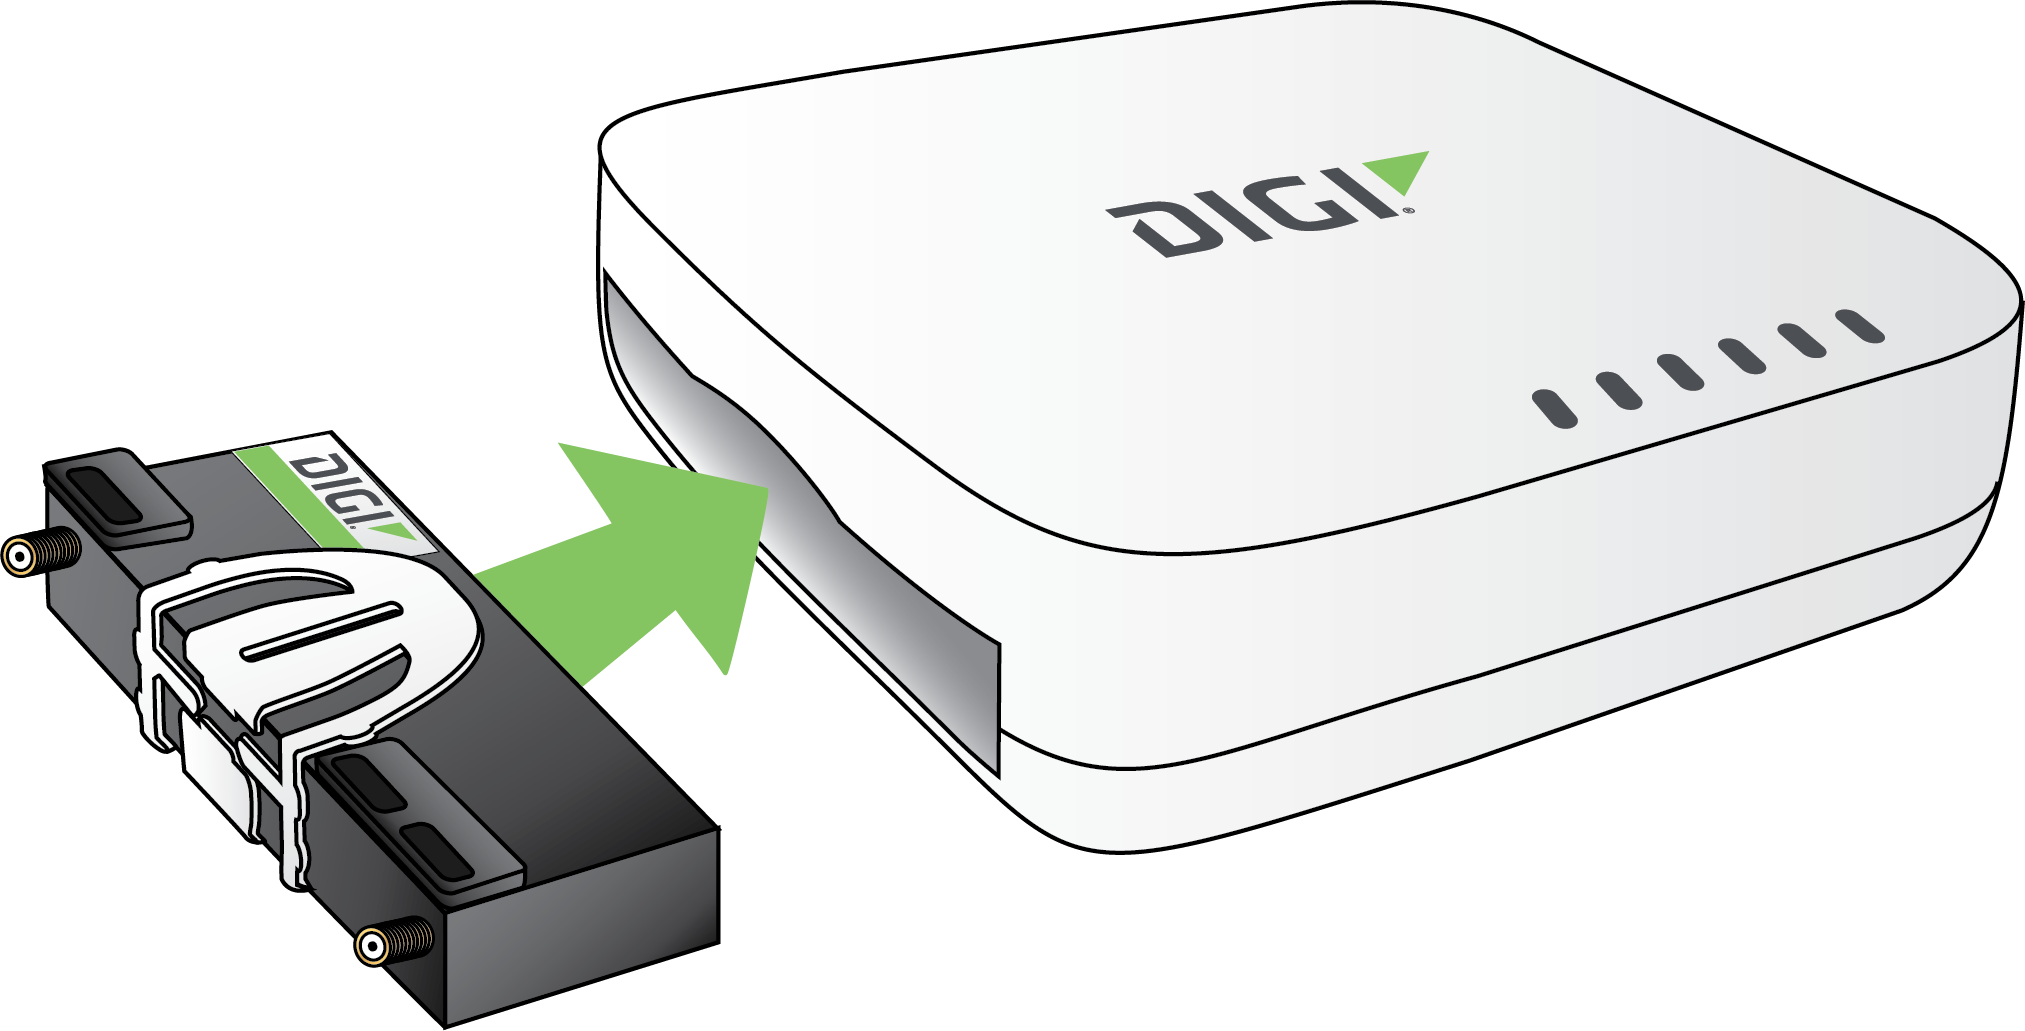
- Insert the CORE modem into the 6310-DX by aligning the white clip. Press the modem in and then push the white clip in until it locks firmly in place.
- Secure the CORE modem with one of the CM unit anchor screws.
- Cover the installed CORE modem with the cover plate.
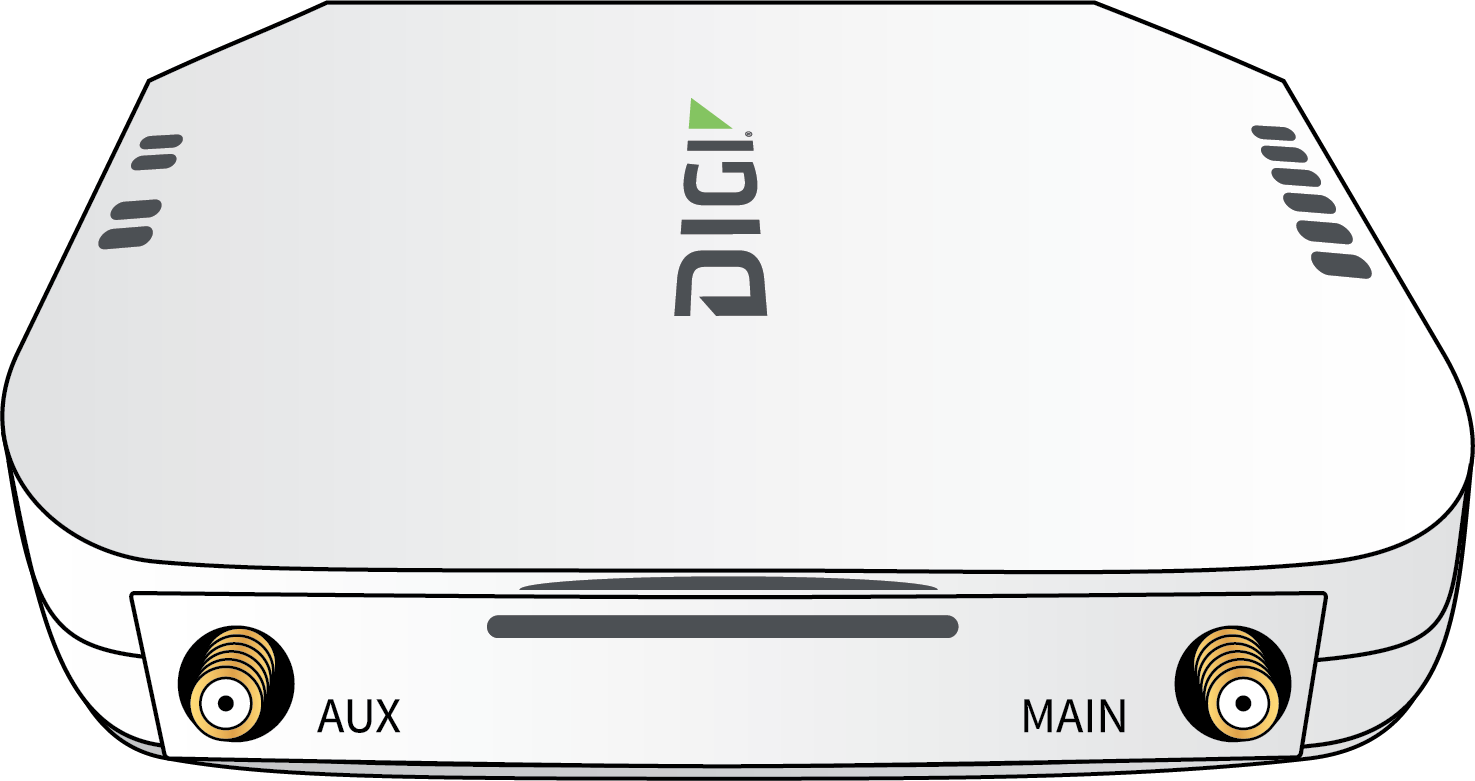
- Attach antenna(s).
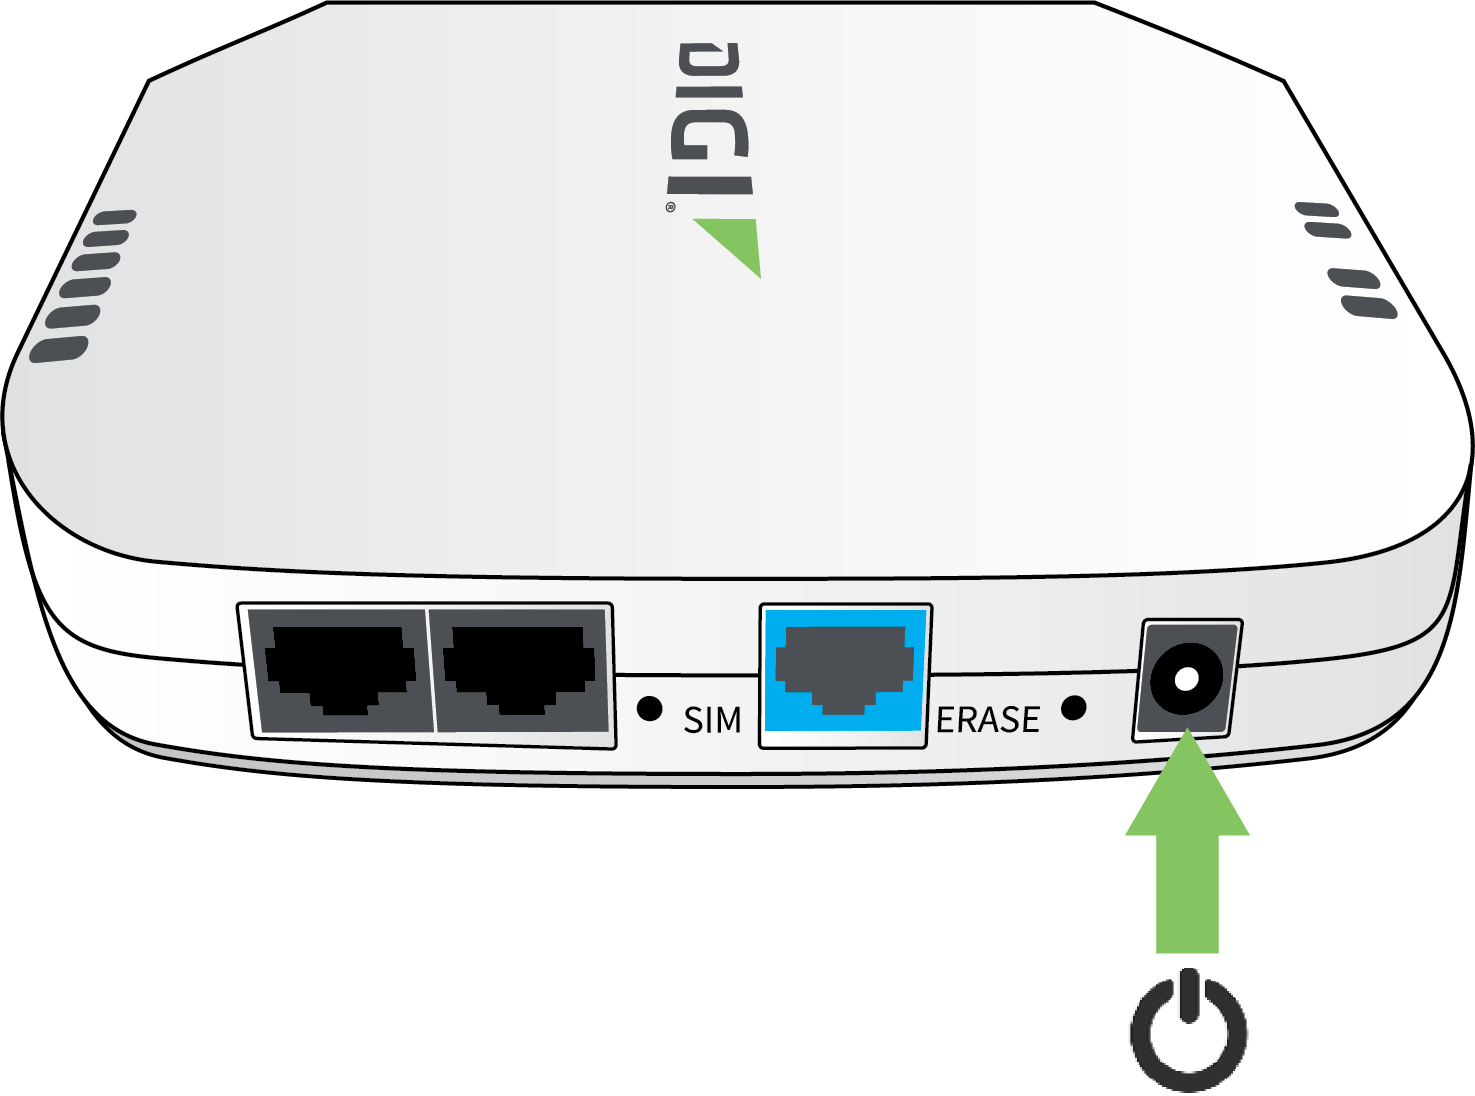
- If you intend to configure Ethernet WAN access at this time, use an Ethernet cable to connect the 6310-DX's 2/WAN port to a hub with access to the Internet.
- Use an Ethernet cable to connect the 6310-DX 1/PoE port to your PC.

Step 3: Power up
- Connect DC power.
- Verify that the signal strength indicator on the front of the 6310-DX shows 2 or more bars, and that the LTE LED on the front of the 6310-DX shows either green or blue (solid or flashing) for proper operation.
Step 4: Configure
This section describes how to configure the device by using the local Web UI. You can also use Digi Remote Manager to configure the device, including using a Digi RM device configuration to automatically update the device. See the Digi Remote Manager User Guide.
- On the PC connected to the 6310-DX, open a browser and go to http://192.168.210.1.
- Log into the 6310-DX:
User name: Use the default user name: admin.
Password: Use the unique password printed on the bottom label of the device (or the printed label included in the package).
Note If your device was manufactured prior to the release of firmware version 19.11.x, the default user name may be root.
Devices that connect to Digi aView for cloud management may have a different password for the default user, based on the aView configuration profile used by the device. Devices with firmware prior to release 20.2.x are configured to connect to aView by default.To connect to the local Web UI in this case, you must either know the password from the aView configuration profile, or you must disconnect from aView and reset the device to factory defaults.
To disconnect from aView and reset the device:
- Remove any SIM and WAN connections to prevent the device from connecting to aView after resetting to factory defaults.
- Follow the instructions at Erase device configuration and reset to factory defaults to reset the device to factory defaults.
- Log into the local Web UI by using the default username and password.
- Prior to inserting a SIM or connecting to a WAN connection, disable central management or configure the device to connect to Digi Remote Manager, as described in Configure Digi Remote Manager.
Ethernet port default configuration
- Port 1 is configured as a LAN port and will issue a single passthrough IP Address using DHCP based on the IP received from the cellular connection.
Note By default, the 6310-DX device is in cellular passthrough mode. This prevents clients that attach to the device's LAN port from using the device's WAN internet connection. See Enable router mode for instructions regarding how to configure the 6310-DX device to provide internet connectivity to more than one connected device at a time.
- Port 2 is configured as a WAN port and will accept an IP Address from an existing local network router.
 PDF
PDF


