NOTE: This document is provided solely as a service to Digi customers. Digi does not provide support for this product in this operating system. This driver is provided by Microsoft, if you experience problems with the driver, please contact Microsoft.
Prerequisites:
This document assumes that you have already run the DOS based CFG.exe utility to set the I/O and IRQ for the Classic Board Hardware and set the jumpers and dip switches for the appropriate I/O and IRQ on the PC/X card.
Procedure:
1. Open Start> Settings> Control Panel> Add New Hardware. Double click Add New Hardware.
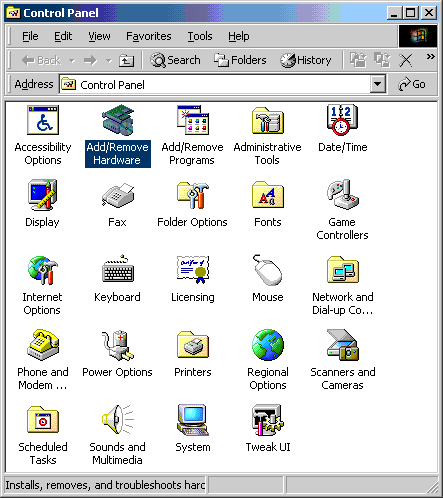
2. Click Next.
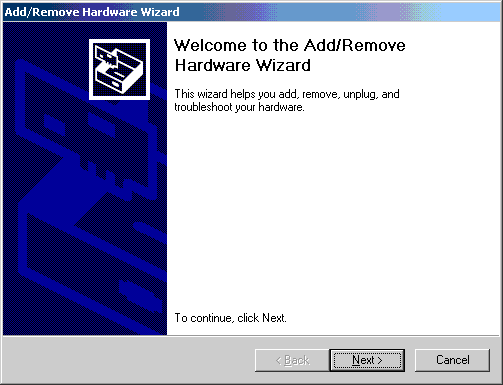
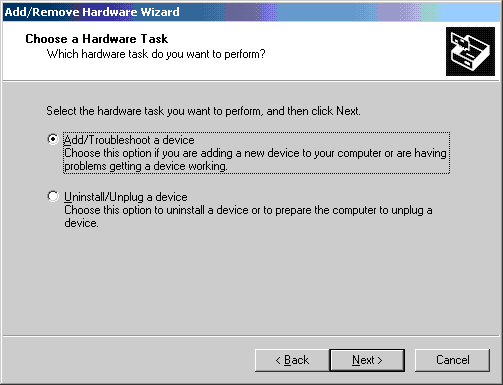
3. Select the Add/Troubleshoot a device radio button. Click Next.
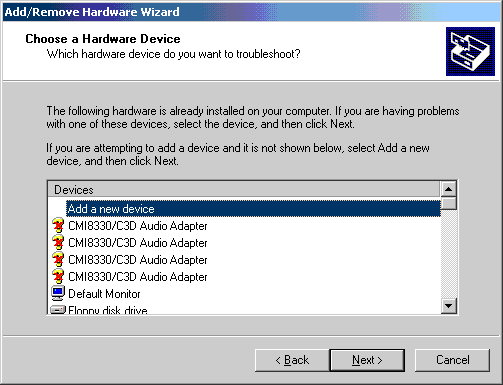
4. Microsoft Windows will do a quick scan for PNP hardware. After it''''s done select Add a new device. Click Next.
5. Click the No, I want to select the hardware from a list radio button. Click Next.
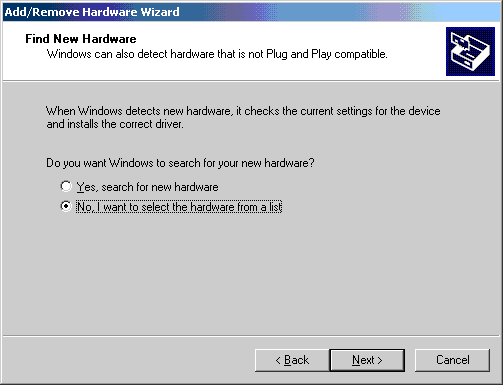
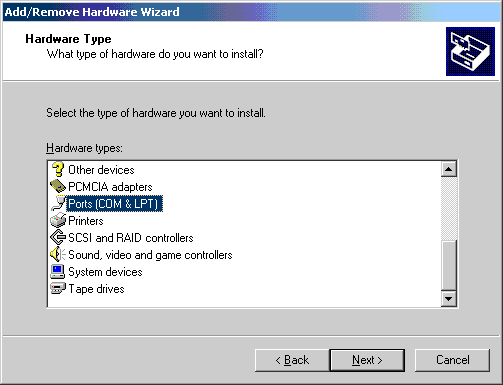
6. Select Ports (COM & LPT). Click Next.
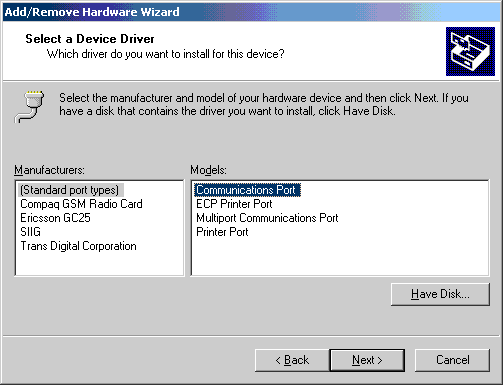
7. Select Manufacturers: (Standard port types) and Models: Communications Port. Click Next.
8. A message box will pop up. Click OK.

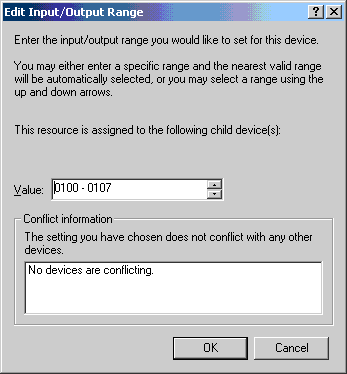
9. Select Basic configuration 0008 from the drop down box. Double click on Input/Output Range.
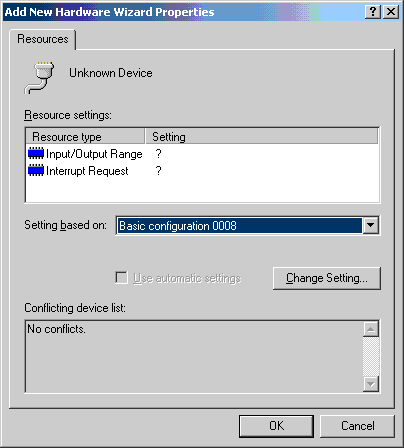
10. This is where you will input the I/O address the port is set to use. This is done with the DOS CFG.exe utility for the Classic card and the dip switches for the PC/X cards. THE DRIVER WILL NOT WORK IF THESE RANGES ARE NOT SET TO WHAT THE BOARD IS PHYSICALLY SET TO USE. Click OK when you have entered the proper I/O address for the COM port.
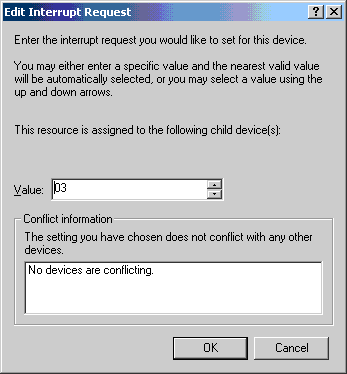
11. Double-click on Interrupt Request.

12. Select the Interrupt Request the board is physically set to use. This is done with the DOS CFG.exe utility for the Classic card and the jumpers for the PC/X card. THE DRIVER WILL NOT WORK IF THIS VALUE IS NOT SET TO WHAT THE BOARD IS PHYSICALLY SET TO USE. Click OK when you have entered the proper IRQ.
NOTE: IN SYSTEMS WITH A PNP BIOS MAKE SURE THE IRQ CONFIGURED FOR THE CLASSIC/PCX BOARD IS RESERVED FOR LEGACY ISA, THIS IS USUALLY FOUND IN THE PLUG AND PLAY/PCI PORTION OF YOUR BIOS, SEE YOU MOTHERBOARD MANUAL FOR DETAILS.
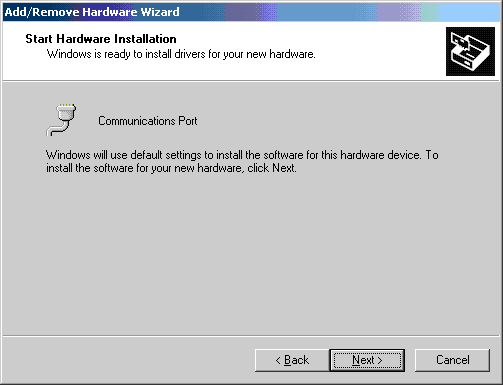
13. Click Next.
14. Click Finish.
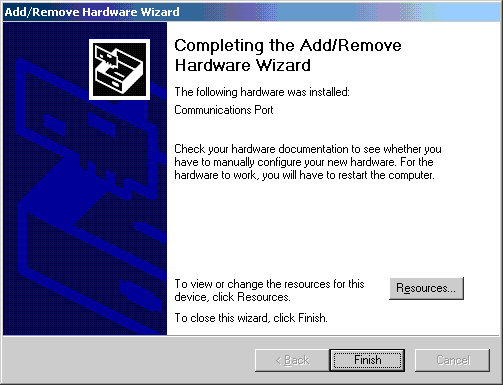
15. Microsoft Windows will now ask you to restart. Click No. You will need to add COM port for each port on your Digi. If you have a 4 port board, you will need to repeat steps 1-14 4 times, etc. After you have finished adding all COM ports, reboot the machine.

16. You have now set up your Digi board. To verify that the driver is working properly, use the loopback plug which shipped with your product or see: How to make an RS-232 loopback plug, then follow the instructions in: Loopback Testing Asynchronous Ports with HyperTerminal Under Microsoft Windows.
Last updated:
Jan 09, 2024