1. From the Start button go to Settings and select Printers.
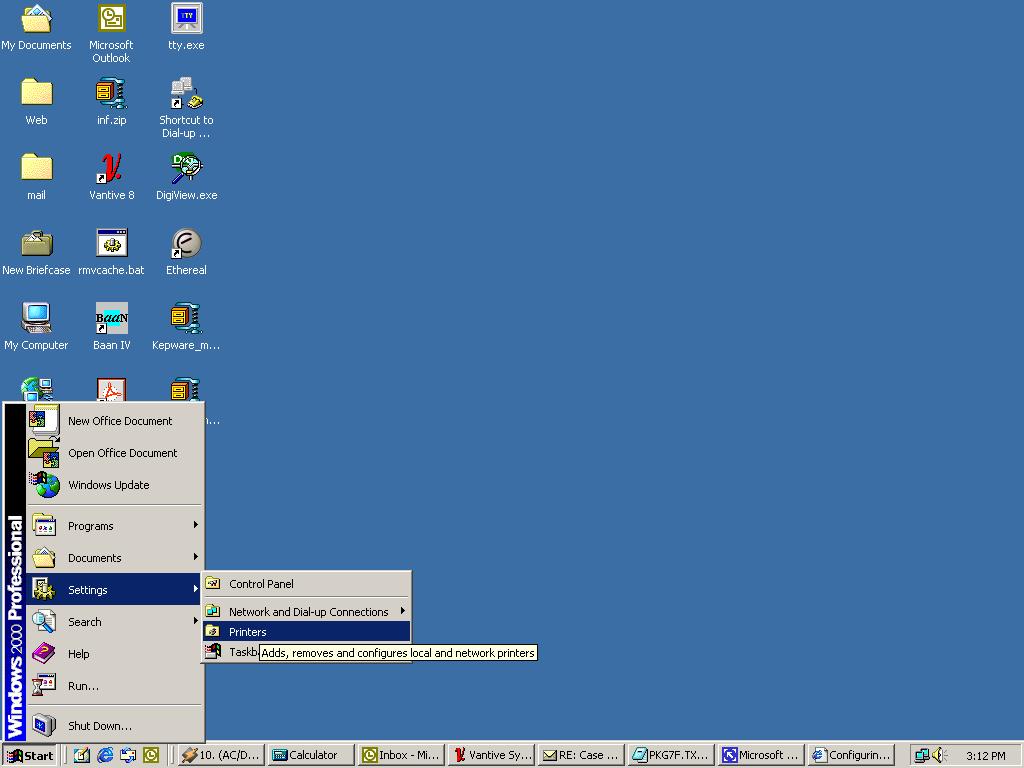
2. Double-click the Add New Printer Wizard.
3. This will bring up the Welcome to the Add Printer Wizard screen. Click Next.
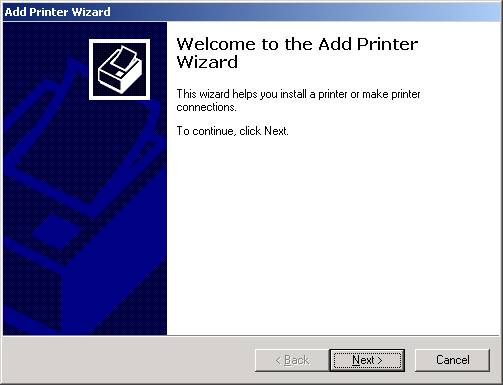
Figure 2
4. Select the Local Printer option. Click Next.
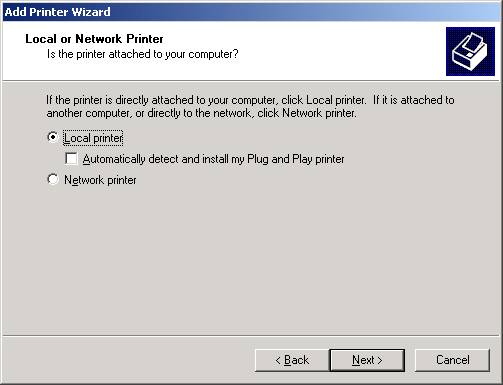
Figure 3
5. Select the Create a New Port option and select LPR Port from the drop down box. Click Next.
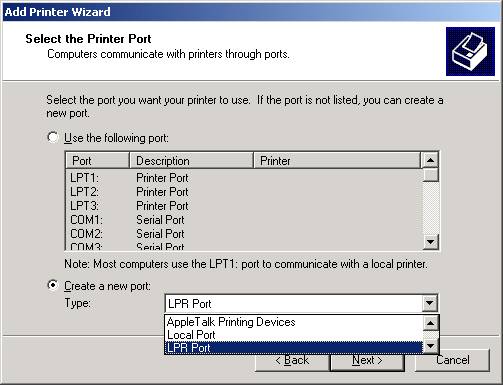
Figure 4
6. Enter the IP Address or DNS Name of the PortServer II/TS. Enter the Print Queue Name. The print queue name should begin with "ascii" if you want the PortServer to substitute both carriage return and line feed characters whenever the system sends a line feed, or with "raw" if you want no substitutions to be made. Then insert an underscore character and the port number (1-16) of the port you want to print to. Lastly, you can add "_f" if you want to append a line feed character after every file in a print job, or "_d" if you want a Ctrl-D added to the end of each file. (Ctrl-D is often required by PostScript printers) Click Ok.
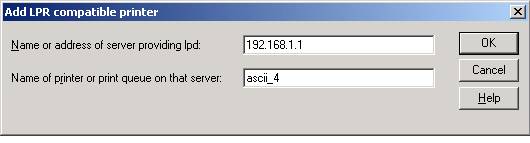
Figure 5
7. Select the Manufacturer and Model of the Printer you are installing. Click Next.
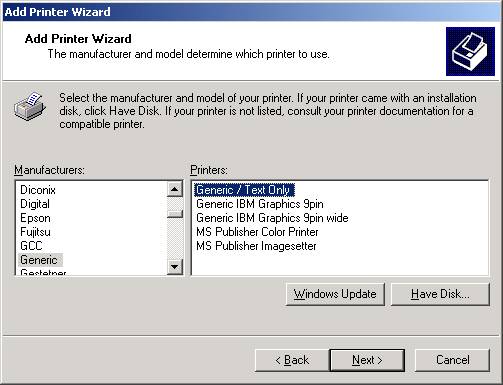
Figure 6
8. Enter a name for the Printer and specify whether this will be the default printer. Click Next.

Figure 7
9. You will now have the option to share the printer. Click Next.
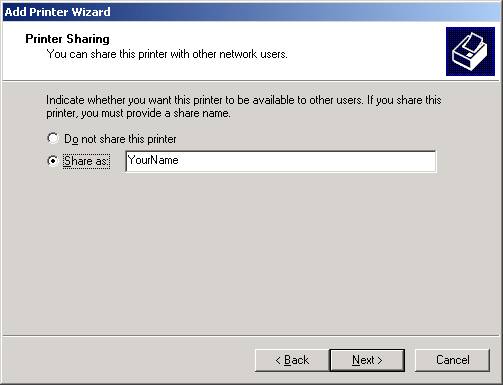
Figure 8
10. The printer will not be available until the server is rebooted. Select No when asked to print a test page.
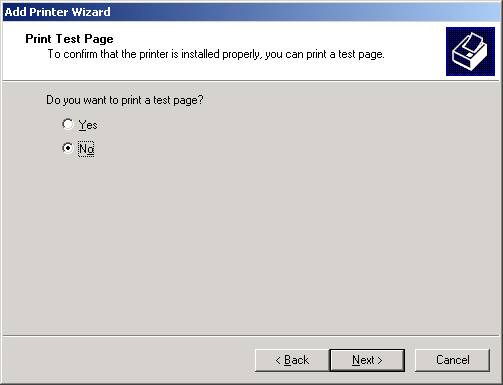
Figure 9
11. To print a test page, reboot the Windows 2000 Server and then select the option to Print Test Page from the properties of the newly added printer.
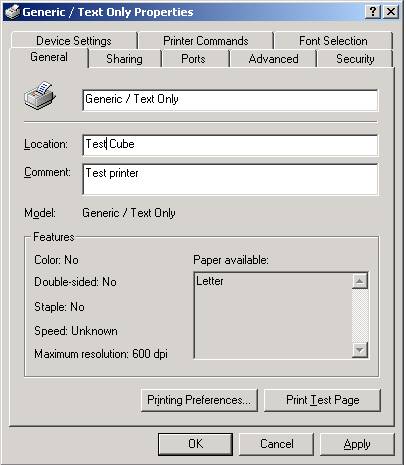
Figure 10
Last updated:
Jan 08, 2024