Items to Note before Starting
Ensure that the latest RealPort driver is being used, which can be downloaded from the Digi support site. The RealPort driver file should be unzipped before running the uninstall process
i.e. - Do not run the “setup.exe” from within the .zip file).
Always run "setup.exe", no matter if the OS is 32-bit or 64-bit. If feasible, run “setup.exe” from the computer's local hard drive, not a mapped network drive.
Ensure that the Windows User Account that's running “setup.exe” has Administrative privileges. Additionally, launch “setup.exe” via right-click / Run as Administrator if the OS offers that option.
Steps to install the RealPort Driver:
1. Download the current RealPort driver from the Digi Support site here. Select your Operating System from the dropdown and then click the 'download' link. Note where your browser saved the .zip file to.
2. Extract this .zip file.
3. Launch the setup.exe file via right-click / Run as Administrator.
4. Select the device that you wish to install the RealPort driver (one or more COM ports) for.
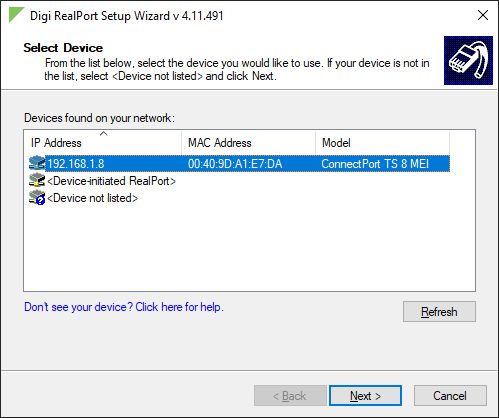
If the device is not discovered by the RealPort installation wizard, choose '<Device not listed>. When using the '<Device not listed>' method, the user must specify the IP address of the Digi device.
5. Click the Next button.
6. Specify the number of COM ports to install and the starting COM port number. Typically, the default settings are used.
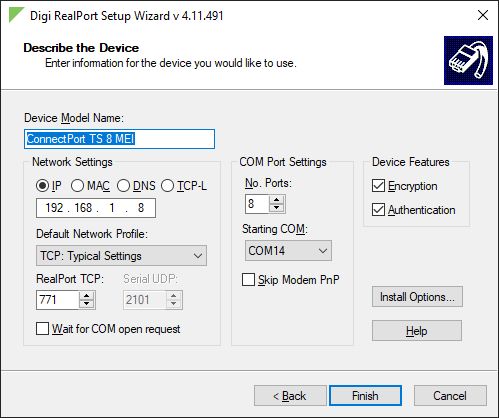
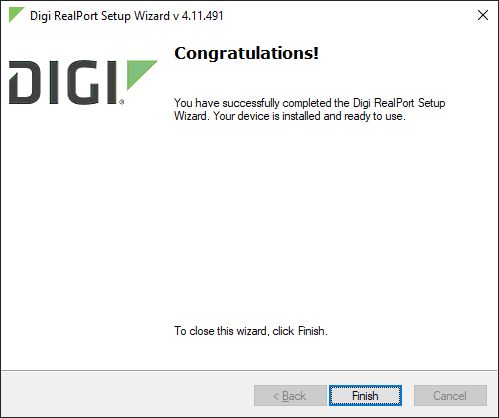
7. Click the Finish button.
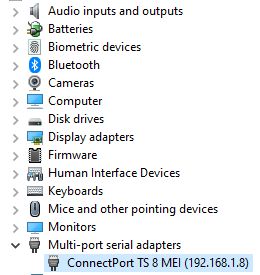
Optional: Open Windows Device Manager to verify the installation. Device Manager should have a 'Multi-port serial adapters' category with the Digi product within it.
Related KB articles:
How to Uninstall COM Ports Installed by RealPort Drivers in Windows
RealPort Troubleshooting for Microsoft Windows
Last updated:
Jan 03, 2024